Stylized Oasis
This is one piece of my portfolio which that demontrate both my Level design/Environmental Art skills and Technical Art skills.

White Box Basic [Stage 1]
Landscape Material & Basic Lighting [Stage 2]
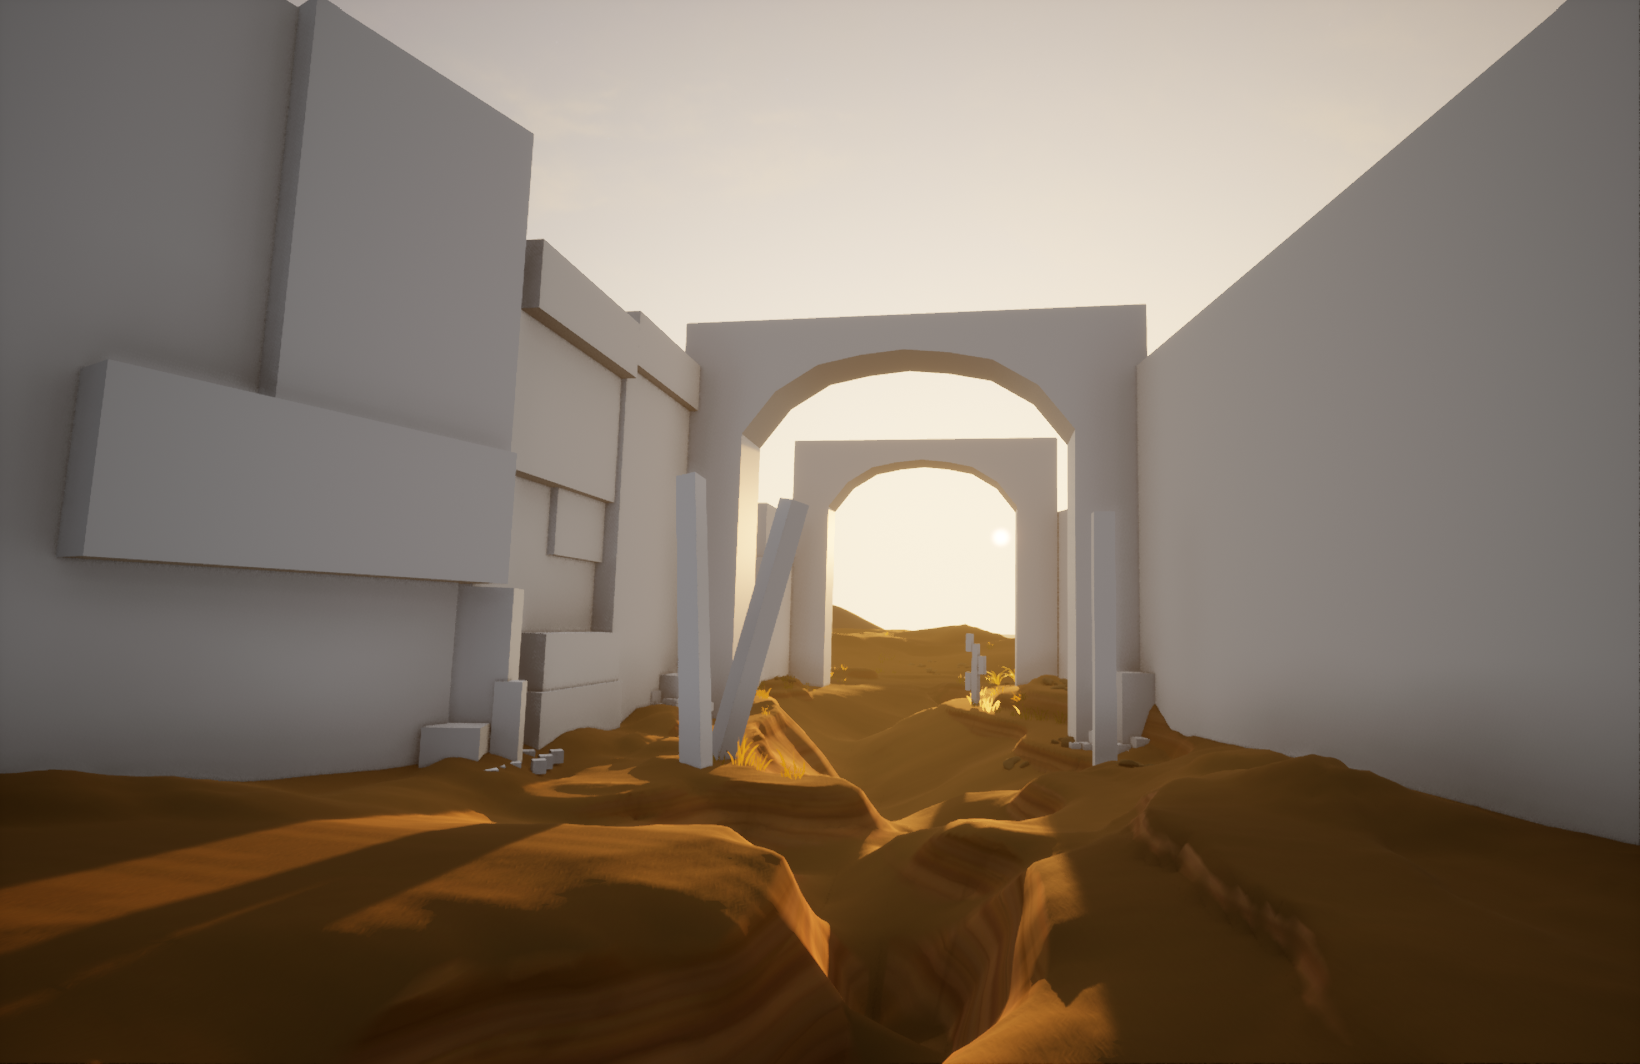
WhiteBox Level
Laying out the basic idea of the environment by using white box provided in unreal. Give the landscape a little sculpt as this is a relatively small and time-limited project which should be finished within a week,instead of using Terrain generator such as Gaea/World Creator, I decided to make the terrain by hand.
Mood Tunning
Setting the overall scene mood by abjusting the lighting angle and lighting color. At the main time automatic landscape material was added so I can have a better idea of how it will look like in the after stage.
The Auto landscape Material I implemented was designed based on the landscape material came with Unreal marketplace Asset [Stylized Egypt], but with some new function added myself.

Replacing White Boxes with Assets
[Stage 10]

Finish art assets implementing and adding final detials, abjusting camera lense setting.
[Stage 11]
Creating 3D Asset
For pre-made assets, I used mostly from the same source package of the landscape material “Stylized Egypt“.
However, to gain a nice and organic view in the final scene, I have to make numbers of 3D model by myself. There are demends for me to work back and forward between Engine and DCC a lot of times.
For my self-made 3D models I went through the process of [Zbrush — Houdini — Substance Painter — Unreal]
The Basic shape is came from the white box, I export it as a scale reference into Zbrush and started to sculpt the rock and cliff out of it.
After gained the basic shape of the rock (Highpoly) I export the GOZ file into Houdini to do the reduce poly-count and auto retopology.
Houdini is a very strong software allow me to operate 3D model procedually. In this case I kept the detail base on the curvature of the rock, and reduce all the unnecessary edges and polys.

Procedually operating the High-poly model into Low-poly base on the curvature and hand-painted mask, in Houdini
[Stage 5]
The node group in Houdini will export a HighPoly model and a LowPoly model as output, then I moved into Substance Painter and finish my baking of normal / AO texture and the painting of Stylized Materials.
In Unreal Engine, I wrote the material shader for the rock and the desert.
To do myself a favour (in furture), I write most of the node in Material Function, which allows me to implement those work fast and effecient in the future development.


Rock Shader in Unreal
[Stage 7]
For the deserts, I added a sand wave effect on top of the Auto Landscape Material to provide more dynamic for the desert.
And I also created a simple send fall effect using Niagra system. Just to make the scene more dynamic.

Exporting Box into Zbrush and Sculpt base on their own size
[Stage 3]
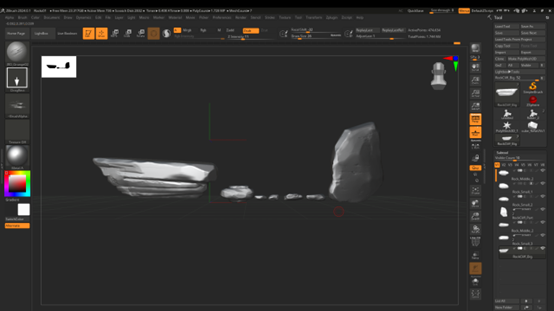
High Poly Model in Zbrush, using GOZ to transfer between Zbrush and Houdini
[Stage 4]
I also need to decide which part that I want should be presented in a normal map texture it is better to be presented in the polygon itself.
For those scratches on the same surface I probably don’t want to much polygon there because Normal Map can do the job perfectly, so I added a hand-paint node to create a mask that will blur all the detail away to reduce the polycount. Because we will bake the high-poly model into the final low poly version so those detail won’t be lose.

Nodes in Houdini
[Stage 6]
Sand Wave Effect for the Desert
[Stage 8]
Sand Fall Particle Effect for the Desert
[Stage 9]
And Finally, most of the work had done, I just replaced any exsiting White Boxes with assets in the level, and abjust the LIghting and camera setting.
